Create this darling classroom or home decor pencil garland for Back to School with cardboard from a recycled pizza box.
Every time we bake a frozen pizza, I manage to save the round cardboard piece that it sits on in the box. It was so fun to create this darling way to repurpose this one into back to school decor in the shape of a pencil themed garland using Kwik Stix from The Pencil Grip Company. They are amazing tempera paint sticks that take the mess out of painting. Keep reading and I will tell you ALL about why I love them.

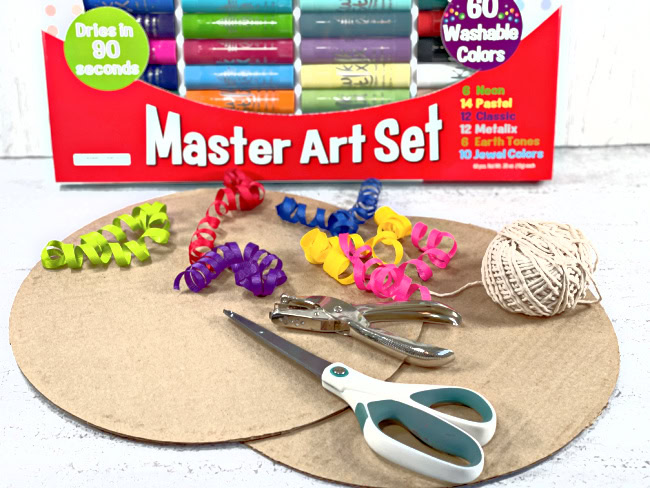
Materials and Supplies Needed
- Kwik Stix from Pencil Grip Company
- Black Marker (Magic Stix Markers)
- Cardboard Insert from Pizza Box
- Scissors
- Hole Punch
- Twine or Yarn
- Ribbon
Directions to Make Pencil Garland Decor
This cute garland is made with pencil is pizza slice shapes. However, it could be done by cutting the cardboard into any shape at all which means that the possibilities are totally endless!
Step One
Cut the round pizza box insert into “slices”. They could be any size but making eight creates a good width for a pencil. There will be a few extras and that is alright.

Step Two
Use a pink Kwik Stix to paint the eraser portion of the pencil art on the ends of each of five cutout slices. If you want to do more and create a longer garland, that would be great too!

Step Three
Paint two lines with yellow to mark off the middle of the pencil.

Step Four
Add green and black paint to complete the covering of the pencils.

Give the tempera paint a few minutes to set. It dries REALLY fast which makes this a great project for doing with kids.
Step Five
Punch holes in the two ends of the eraser painted portion of the pencils.

String the pencils together to create the garland. It can be as long as you would like by making as many pencils as your heart desires.
Step Six
Add the #2 markings using the black marker from your Magic Stix Markers. These markers are THE BEST for all the reasons. I mostly love the way that they color but also love that the tips don’t get messed up when pressed on.

If desired, add ribbons to decorate the space in between the pencils.
This would be a lot of fun to do as crayons or colored pencils too. There are so many FANTASTIC colors in the box of Kwik Stix!
More About Kwik Stix
If you are tired of the endless mess of painting – these are for YOU! Kwik Stix Tempera Paint sticks make painting mess free which makes it way more fun for kids of all ages. Just take off the cap, twist up the color and paint away. They are fast drying – as in about 90 seconds or less. This is amazing considering they leave a paint like finish on poster board, cardboard canvas and even WOOD! They come is TONS of fantastic colors that paint vibrant designs!

OTHER GREAT Kwik Stix Ideas
Kwik Stix can be used to create on lots of different surfaces. Both of my Team Creative Crafts’ partners made awesome Back to School projects too. Beth created adorable notebook covers from recycled grocery sacks. They would be great for book covers too. Get all of the deets over on Creatively Beth to make your own covers.

Lindsay shared painting with Kwik Stix on wood. She has all of the directions along with great tips and tricks on Artsy Fartsy Mama!

Sharing is Caring! Too busy to make this right away?! Pin it for later! Pin this project to your favorite craft board on Pinterest and it’ll be waiting for you when you’re ready.

I would really love to hear what you think about idea! If you try it out, I would sure like to see it! Share on Instagram, Facebook, or leave a comment/photo on the project pin on Pinterest! #LauraKellyDesigns
This post contains affiliate links. If you make a purchase, it is no extra cost to you but supports me and my small business.
XOXO,
Laura