Straw Carrot Art
This straw carrot art DIY is so easy peasy to make thanks to the awesome Creative Station made by Xyron. This post is sponsored by Xyron but the ideas and opinions are my own. Everyone who knows me is aware that I have a carrot obsession. I don’t really love to eat them but I do love their colors and the fact that they represent springtime in many ways.

To get started, you will need the following supplies and materials.
What will you need?
- Xyron Creative Station
- Paper Straws (Orange)
- Green Fabric
- Burlap
- Old Frame Painted Green
- Hot Glue
- Scissors
- Carrot Pattern (FREE)

How to make the Carrot Art!
Start but cutting out the carrot pattern. Run the carrots through the Creative Station to get them covered in super awesome adhesive. I love this so much because it is so much better than working with messy glue or a hot glue gun.

Cover your carrot with paper straws. It helps to cut them down to size first.

Trim around the carrot with sharp scissors.

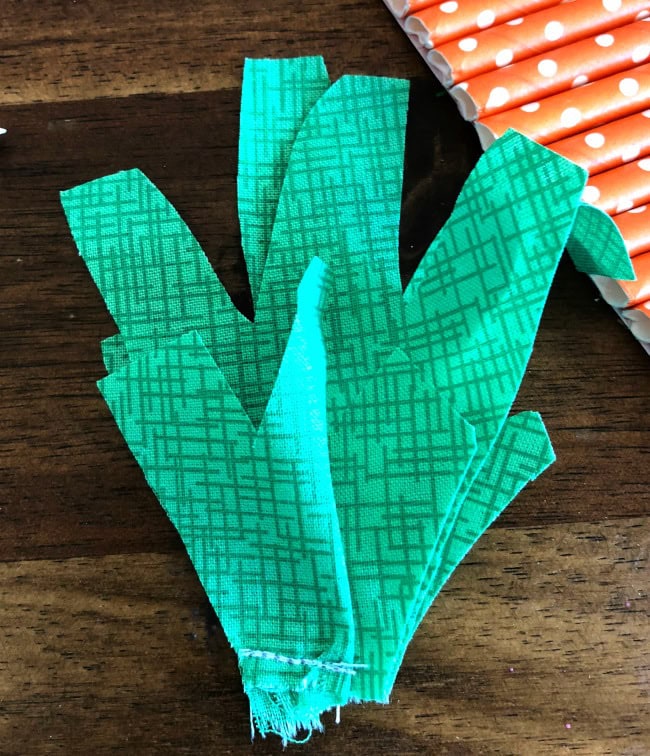
Add a green fabric tuft to the top of the carrot. The pattern has three sizes to be cut out and then cinched and sewn together at the botttom as one way to get this part done.
Glue the carrot to burlap and put it in a frame. Ta Da.

I added a bow to mine which is totally optional.

I love this and love the way it makes my kitchen a little brighter and more prepared for springtime. The Xyron Creative Station is such a fabulous and wonderful way to get a surface super sticky without the mess.
Be sure to check back tomorrow for the next project in the 2018 DIY Easter series.
Cheers to Carrots,
Laura
Carrot Crafts

Carrot Crafts are some of my favorites to make. The colors green and orange are just so perfect together. Here are eight that I think you will really love. The cool thing about crafting is that once a project is made and the technique learned, it can be applied to making tons of other creations with different themes. This rocks because it translates to all of the decoration ideas, holidays, seasons and celebrations.
2 thoughts on “Straw Carrot Art”